One improvement that can significantly elevate the overall camping experience is an external hot and cold-water shower on your caravan. But there is good news if your caravan doesn’t have one. Retrofitting an external shower to your caravan is easier than you might think.

Retrofitting an external shower to your caravan is easier than you might think.
An external shower is ideal for washing yourself off after an outing to the beach, bushwalking or fishing, and especially handy for cleaning the dog, before entering the internal living space. Without washing sand off yourself before entering your caravan, it can quickly accumulate inside the van. Sand particles can be abrasive and cause premature wear and tear on the caravan’s interior flooring and upholstery. But by washing off sand outside before stepping inside, you can significantly extend the life of these surfaces, preserving the aesthetic appeal and functionality of the caravan. Sadly, our used caravan didn’t come with an external shower, but thankfully, that’s something we’ve now rectified.
Furthermore, caravans equipped with upgraded features, such as an external shower, tend to have a higher resale value. Potential buyers are attracted to the convenience and added luxury these enhancements bring, making the investment in retrofitting a wise choice for long-term value.
I dropped into Lawrence RV, the dealer we’d purchased our used caravan from, to enquire about possibly having an external shower fitted. The team explained they regularly retrofit external showers for their customers but were more than helpful with advice on how to DIY the job if I felt confident enough to tackle the task.
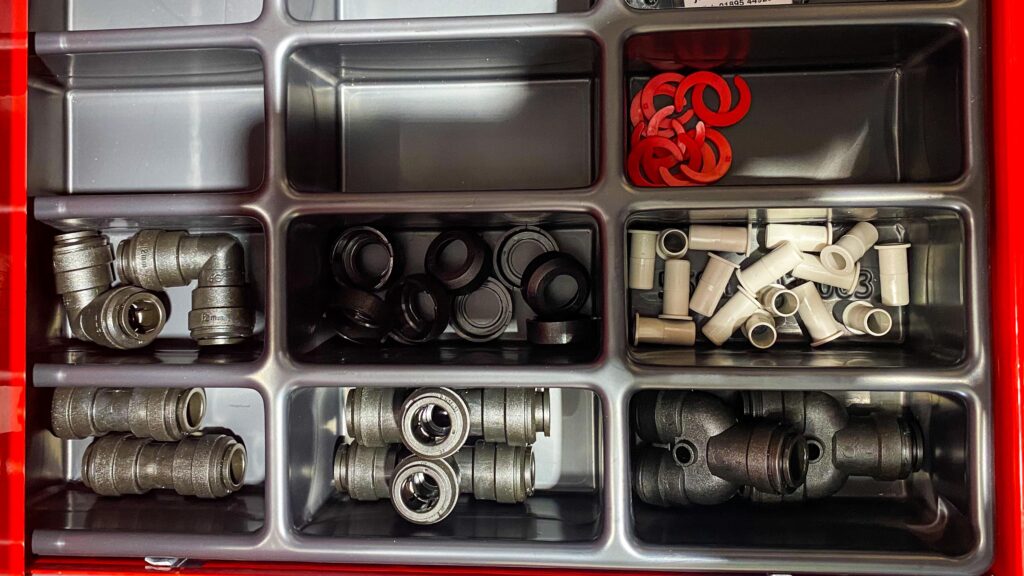
Not surprisingly, all the components required to retrofit an external shower are readily available from most caravan parts stores.
Not surprisingly, all the components required to retrofit an external shower are readily available from most caravan parts stores. I’ll put a shopping list at the end of the article.
There are a variety of external shower kits available. I opted for the standard recessed model in black with plastic fittings. The wide range of options extends to a premium version with stainless steel braided hose and brass ½” BSP hose fittings.

Expanding the vent cutout to suit the new recessed shower box
Essential Caravans, like most manufacturers, include a large vent where the hot and cold water lines connect to the caravan’s internal shower cubical. Removing this vent exposes a large free area for the placement of the external shower box.
You can fit these external shower boxes vertically or horizontally, depending on how you want them mounted on your caravan. In my case, the horizontal position suited the existing vent opening best. However, I did have to extend the slot opening to a few millimetres to accommodate the larger 155mm high by 280mm wide external shower box.
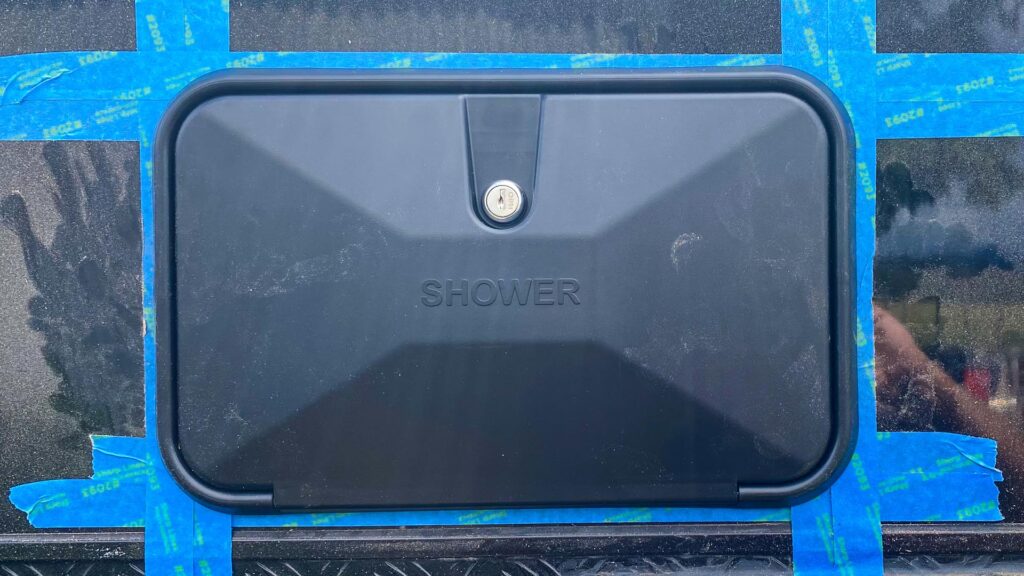
Place painter’s masking tape along my cut lines and extended the tape wide enough for the foot of the reciprocating saw to travel without marking the paintwork of the van wall.
Typically external vents are fixed to the caravan wall with a few self-tapping screws and a generous amount of Sikaflex; ours was no exception. So, when it comes to removing this vent panel, take extra care not to damage the surround panel work as the aluminium is fragile and will mark easily. I used a very thin scrapper to cut through the Sikaflex. I then used Wurth’s ‘Industry Cleaner,’ which is the only product I’ve found that can effortlessly remove adhesive residues, which is the need for abrasive scrubbing, which can damage paintwork.
Once I’d marked out the area I needed to cut out, I placed painter’s masking tape along my cut lines and extended the tape wide enough for the foot of the reciprocating saw to travel without marking the paintwork of the van wall. I drilled a 10mm hole in each corner, which allowed the saw blade to enter the wall and would provide a nice radius corner when the new opening was extended to suit the shower box.
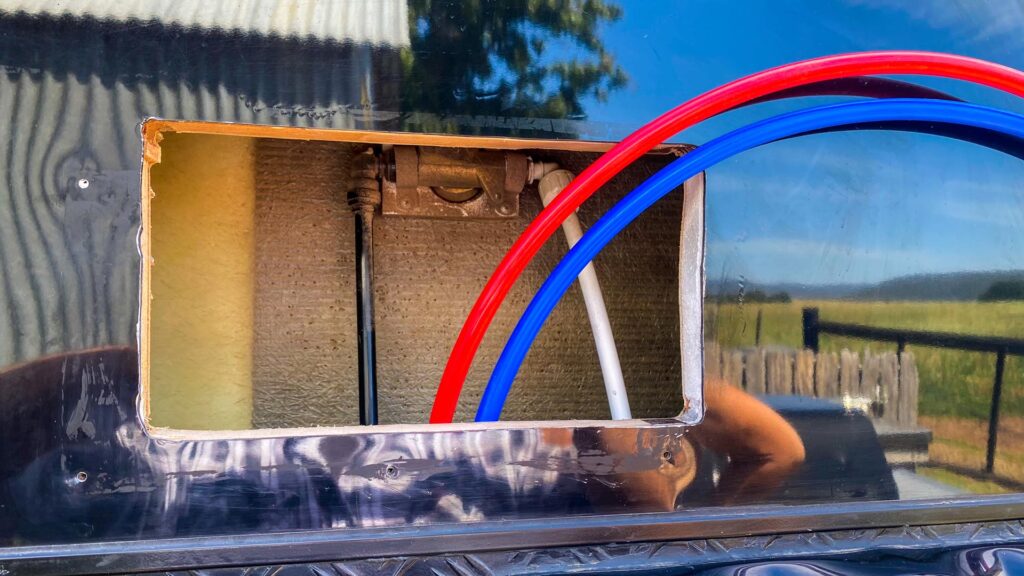
Feeding the new hoses through the small hole in the cavity between the shower and the rear wall was a little challenging, but with the assistance of my wife, we managed to get the hoses through to the external shower without an argument.
Pipe Work
I’ve never been a fan of drilling holes for the sake of it, especially when it comes to electrical or plumbing work, simply because it’s a quick fix on the day. I prefer to invest a little extra time to study the current plumbing route and utilise the existing pipework and routes taken by the manufacturer. With this in mind, I discovered that the hot and cold water hoses entered the ensuite through a small cupboard at the base of the vanity unit. From here, they split off, with one set for the hand basin, another for the washing machine and another for the internal shower.
Thankfully, the John Guest (JG) range of Speedfit connections used by most caravan manufacturers come with an extensive range of joiners. The 12mm JD Divider was the perfect fitting to split the existing hot and cold-water shower pipes to feed both the internal and external showers.
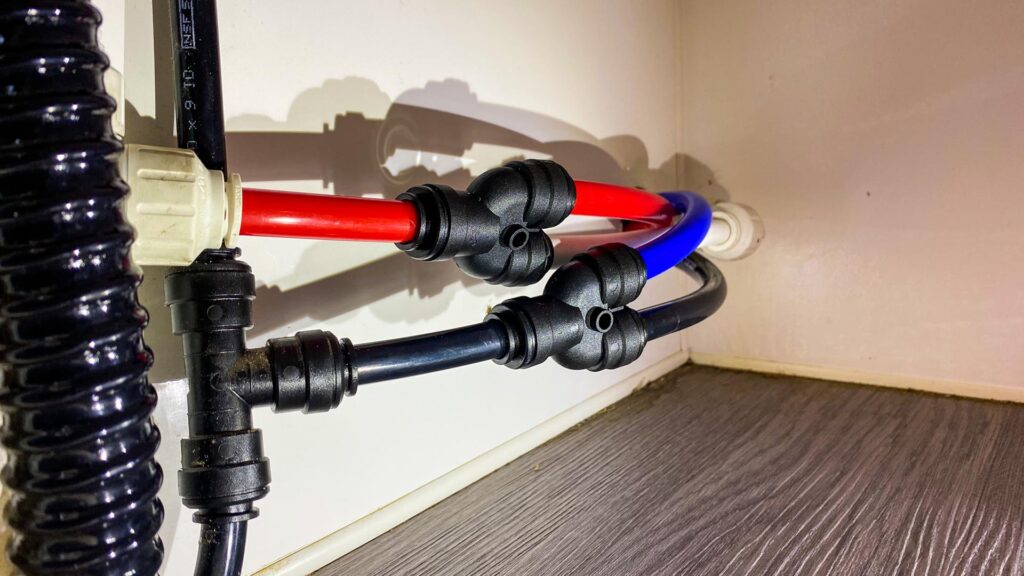
The John Guest (JG) range of Speedfit connections used by most caravan manufacturers come with an extensive range of joiners.
Feeding the new hoses through the small hole in the cavity between the shower and the rear wall was a little challenging, but with the assistance of my wife, we managed to get the hoses through to the external shower without an argument.
I fitted JD Watermark Bent Tap connectors with 12mm push-on ends to the external shower box. I then pushed the respective hoses into each fitting. That is how easy it is to plumb up the shower box. At this point, I did not screw the shower box to the wall because I wanted to test all the connections for water leaks before I attached it to the wall with Sikaflex.
Five minutes later, I had finished all the pipe work inside the cupboard and was ready to test the unit. It worked perfectly, with no leaks.

Mark Guide: Place the pipe on the fitting and mark a guideline on the pipe the length that the pipe needs to be inserted.
Understanding John Guest Speed Fittings:
John Guest speed fittings are push-fit connectors designed for quick and straightforward installation without needing tools or specialised skills. These fittings are ideal for applications in caravans due to their compact design, lightweight construction, and user-friendly installation process. They are commonly used for connecting pipes, hoses, and fixtures in various plumbing systems, including water supply, gas lines, and air distribution.
Installation Process:
- Prepare the Pipes: Before installing John Guest speed fittings, ensure the pipes are cut cleanly and squarely to avoid leaks. Remove any burrs or rough edges from the cut ends to guarantee a smooth and secure connection.
- Pipe Support: Insert a pipe support into the end of the pipe.
- Mark Guide: Place the pipe on the fitting and mark a guideline on the pipe the length that the pipe needs to be inserted.
- Insert the Pipe: Push the pipe into the fitting until it reaches the tube stop, approximately where you marked the pipe earlier. The built-in collet will grip the pipe securely, creating a leak-proof seal.
- Ensure Proper Engagement: Confirm that the pipe is fully engaged by checking if it cannot be pulled out easily. The audible click sound often indicates a successful connection, assuring a secure fit.
- Locking Ring: Install the red locking ring to prevent the fitting from accidentally being released.
- Release Mechanism: If adjustments or disconnection are needed, John Guest speed fittings feature a release mechanism. Press the collet against the fitting and pull the pipe to release it. This design allows for easy modifications without the need for special tools.

Insert a pipe support into the end of the pipe.
Happy that the system was functioning correctly and there were no water leaks, I generously applied Sikaflex to the external shower surround before screwing it to the wall of the caravan.
The following day, after the Sikaflex had cured, I tested the new shower and it worked a treat. The hose is long enough to use in a hand-held fashion to move around to wash sand off your legs and feet. A holder in the external box holds the shower head in a vertical position if you wish to use the shower like a conventional shower.
Install time.
As every caravan is different, there is no hard and fast rule of how the shower will fit and where to run the pipework. Consequently, the longest part of the project was conducting my research to determine what parts were required and where everything would fit. Once I’d obtained all the correct parts, the actual installation time without rushing was approximately an afternoon from start to finish.
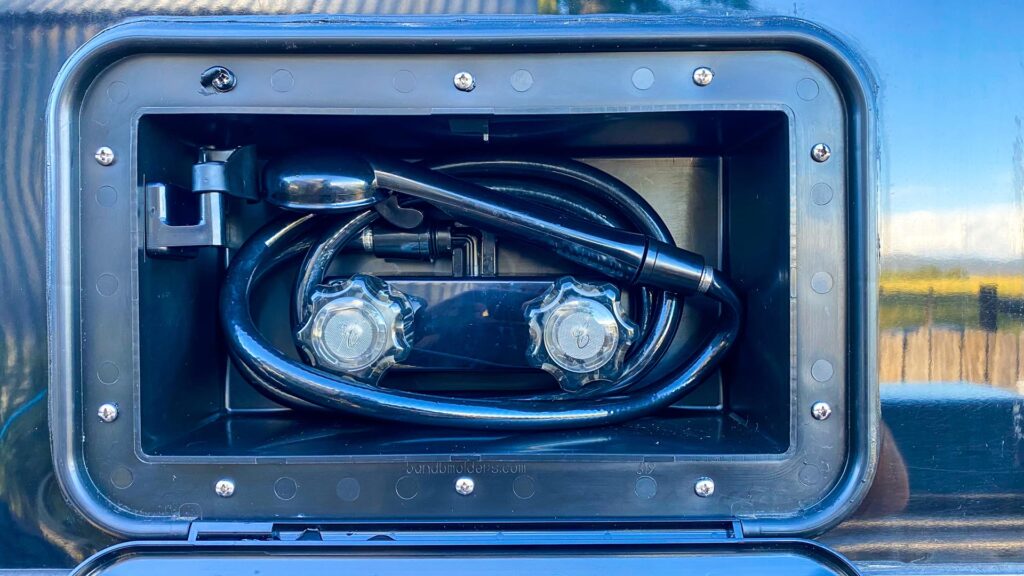
The external shower hose rolls up neatly and stows in the box.
Shower Parts List.
(Prices correct at the time of publication)
Recessed shower box (Black) $110
Blue John Guest 12 mm speedfit water pipe (3 meters) $2.75/meter $8.25
Red John Guest 12 mm speedfit water pipe (3 meters) $2.75/meter $8.25
JG 12mm pipe insert support $0.55 each (8 of) $4.40
JD divider 12mm push on fitting $8.86 each (2 of) $17.72
Red Locking clips to suit JG 12mm fittings $6.60
JG bent tap connector 12mm push-on to ½ BSP female (2of) $13.95 each $27.90


